You know that specific spot in your upper trap that feels like a marble under the skin? Or the deep ache in your glute that shows up two days after a heavy squat session? Those are trigger points, and static stretching almost never gets rid of them. Stretching pulls the whole muscle. A trigger point is a localized knot inside that muscle, and the only way to release it is to apply sustained, direct compression directly on the spot until the tissue lets go.
I have been using massage balls for this for about two years now, mostly the Acupoint Massage Therapy Ball Set because it gives you two different densities in one kit. The firmer ball handles calves, glutes, and lats where you need real penetration. The softer ball works on the plantar fascia and upper trap where too much pressure just makes you tense up and guard against it. This guide walks through exactly how I use them, body part by body part, including timing cues and the one technique mistake that makes people think massage balls do not work.
If your knots are not releasing with foam rolling alone, a targeted massage ball is what you are missing.
The Acupoint set includes both a firm and a softer ball so you can adjust pressure by body part. Rated 4.5 stars by over 5,000 buyers on Amazon.
Amazon Check Today's Price on Amazon →What Makes Trigger Point Release Different From Regular Rolling
Foam rolling moves. You push the roller along the length of a muscle, flushing out metabolic waste and temporarily increasing blood flow. That is useful, and there is real evidence behind it. But a trigger point is a sustained contracture in a small band of muscle fibers. When you roll over it, you briefly compress it and then move on. That is not enough dwell time for the tissue to release.
Trigger point release works on a different principle. You find the spot, you sit on it with direct pressure, and you hold. The research on myofascial release suggests somewhere between 30 and 90 seconds of sustained compression is needed before the tissue begins to respond. The feeling during that window is an intense but manageable ache that gradually diminishes. When the ache fades noticeably, the knot is releasing. That drop in sensation is your signal to move to the next spot. If you are just briskly rolling back and forth over an area and moving on in 10 seconds, you are not doing trigger point work. You are doing something else, and it will not produce the same result.
Step 1: Find the Spot First, Then Pin It
Before you can release anything, you have to locate the actual trigger point rather than just rolling around the general area. The difference is specific and immediate: a trigger point will produce a sharp, referral-type ache when you press directly on it. It often radiates outward, sometimes to a surprising distance from the spot itself. A tight muscle without a trigger point will feel tender but the sensation stays local.
To find the spot, press slowly and deliberately with your fingers before you bring the ball in. Work systematically across the muscle belly in a grid-like pattern. When you hit a marble-sized firmness that produces that characteristic radiating ache, you have found it. Note the exact location, then place the massage ball on that point before you add bodyweight pressure. Trying to find a trigger point with a ball already in place is like trying to thread a needle with gloves on.
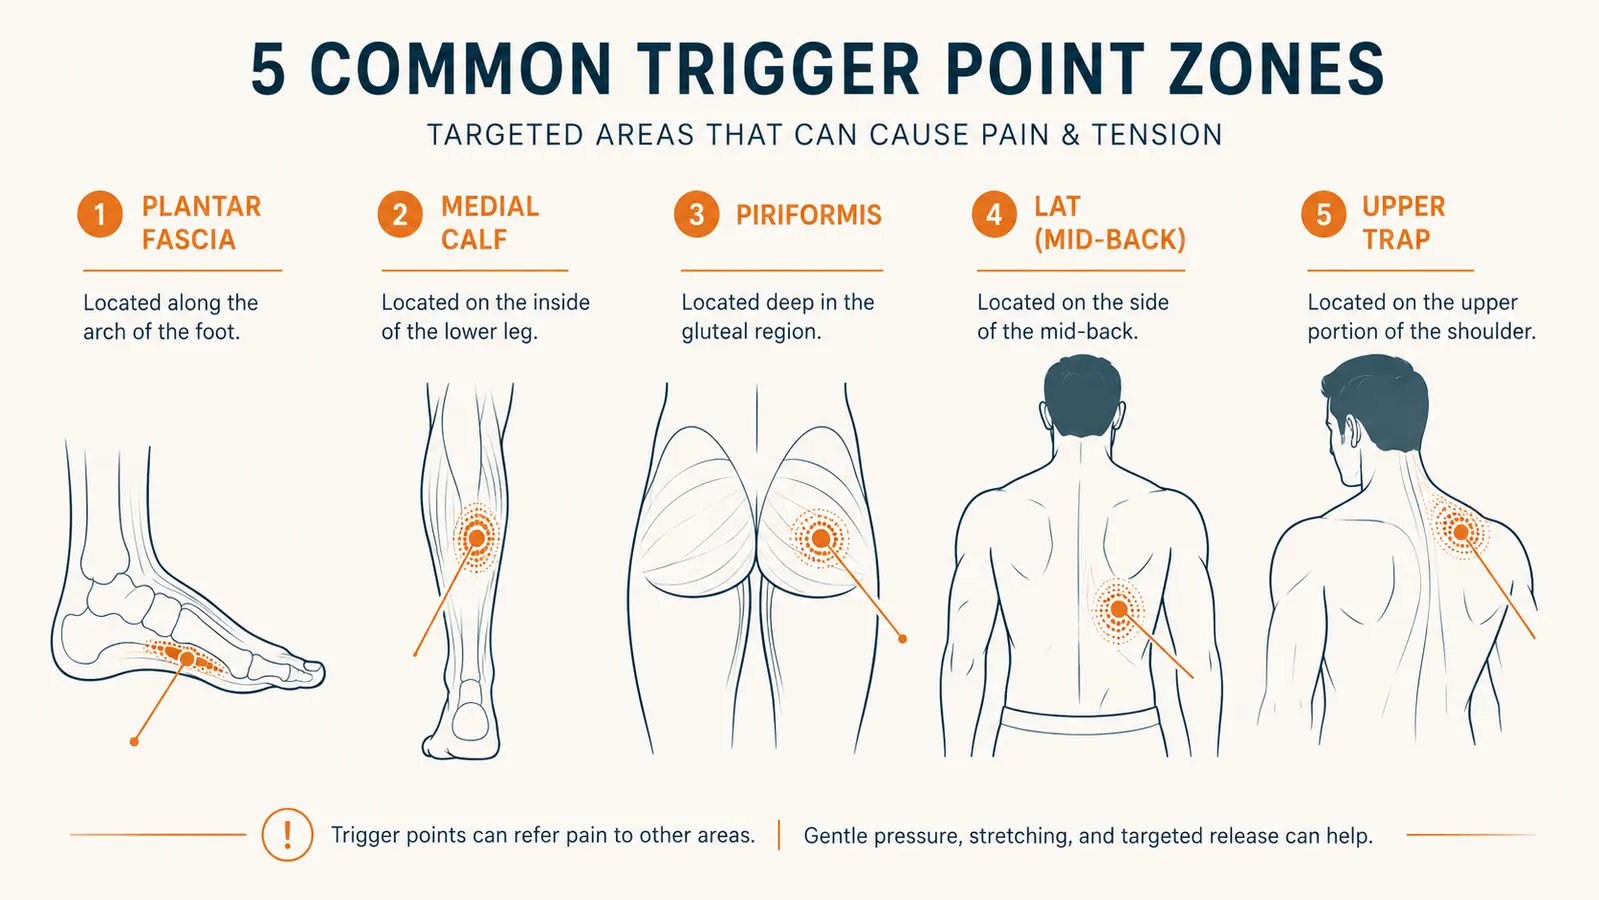
One more thing: trigger points cluster in predictable zones by sport and posture. Lifters accumulate them in the upper traps, lats, and glute medius. Runners collect them in the plantar fascia, calf, and hip flexors. If you sit at a desk all day, expect the suboccipital muscles at the base of your skull and the pec minor to be chronically loaded. Knowing your own pattern saves time.
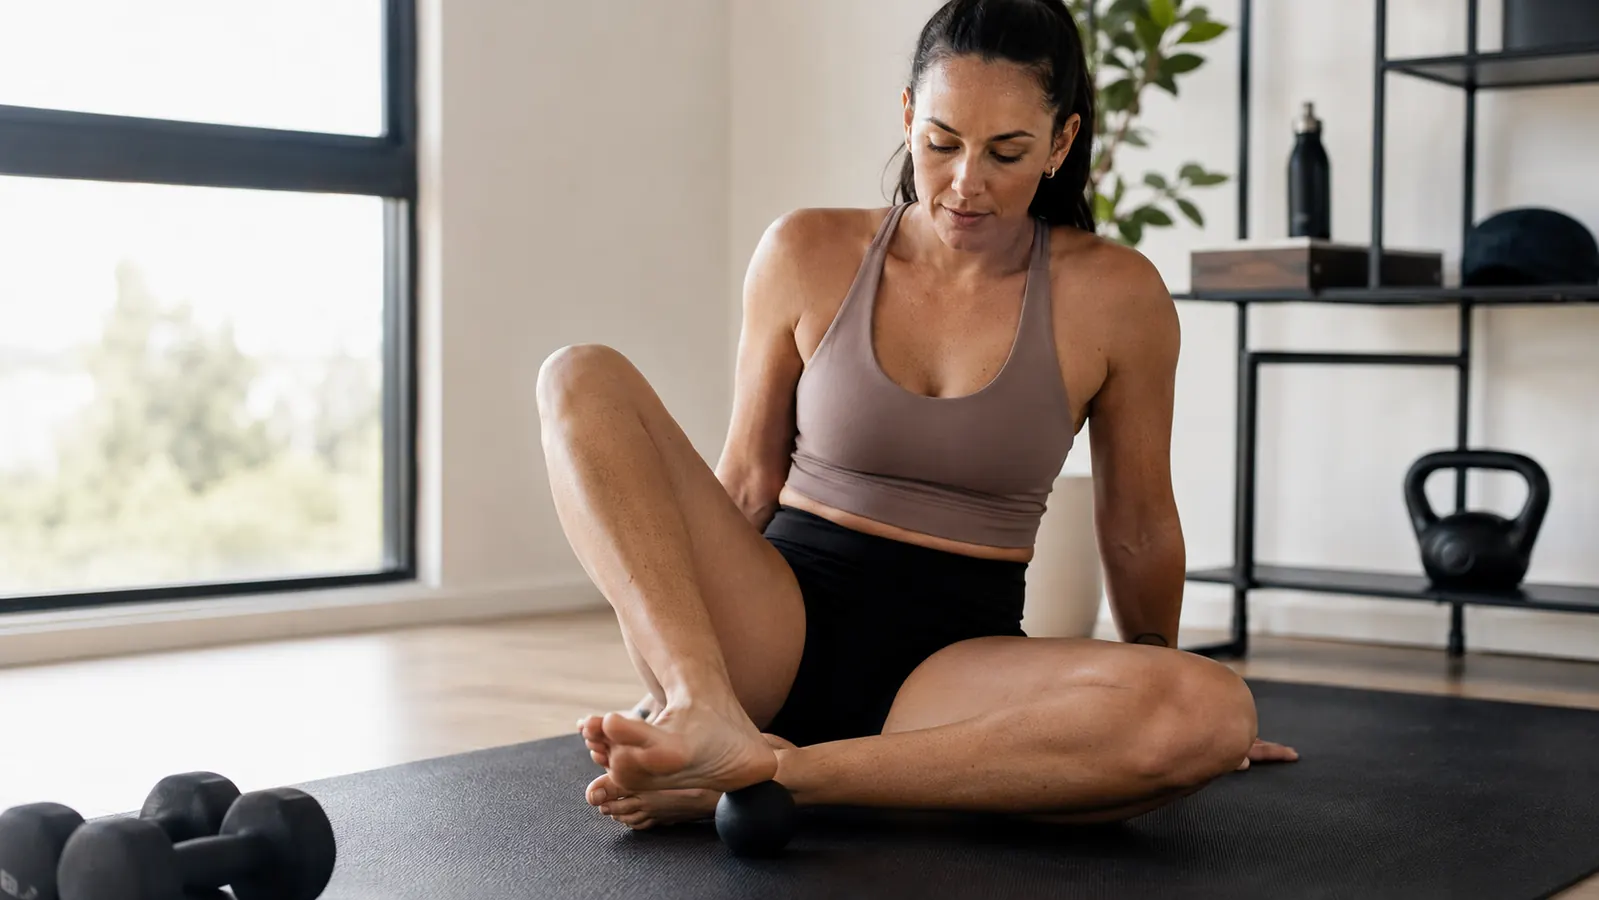
Step 2: Work the Plantar Fascia and Calves
Start from the ground up. The foot is the one body part where you can use the massage ball standing up, which lets you load a significant amount of bodyweight through it without needing to get down on the floor. Stand near a wall for balance and place the firm Acupoint ball under the arch of your foot, just behind the ball of the foot. Shift weight onto it until you hit an intensity of about 6 or 7 on a scale of 10. Do not push for maximum pain. Hold for 45 seconds. If you feel a referral sensation up the inside of your heel, that is the plantar fascia trigger point.
For the calves, especially the medial gastrocnemius that stiffens up after running or heavy calf raises, sit on a chair or the edge of a bench and place the ball under the calf belly. Cross the opposite leg over the top to add extra compression. Work in three or four spots from just below the knee to the musculotendinous junction above the heel, spending 45 to 60 seconds at each. The soleus, which sits underneath the gastrocnemius, is harder to reach. Bend the knee to 90 degrees to relax the gastrocnemius layer, then press. You will feel a deeper, more diffuse ache when you reach it.
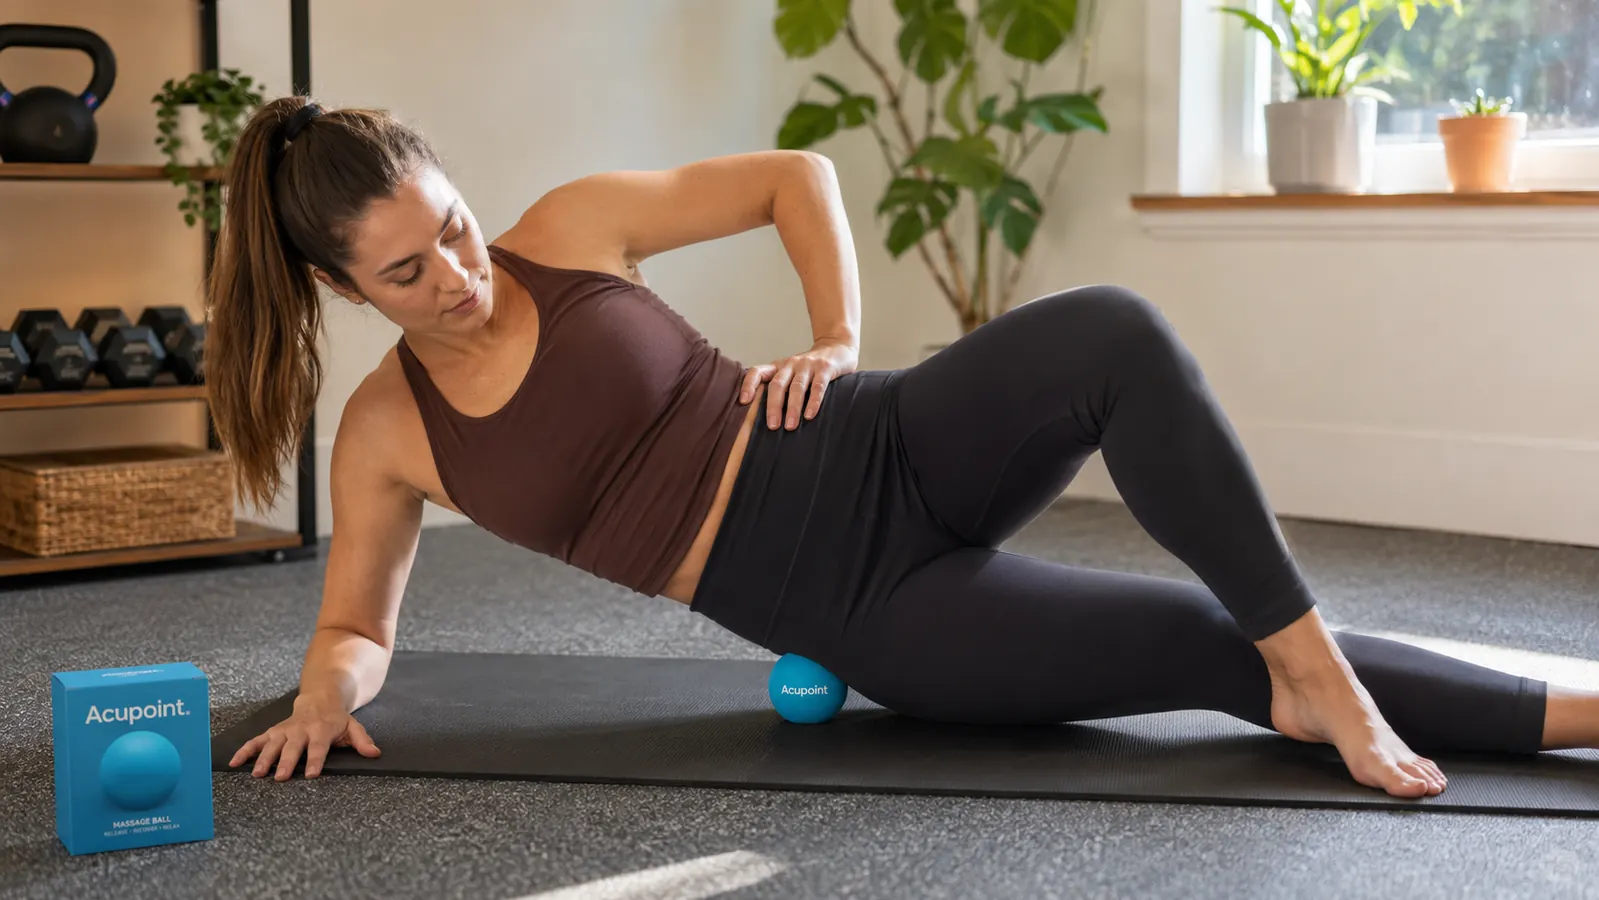
Step 3: Release the Glutes and Piriformis
The piriformis is a small external rotator muscle buried under the glute max, and it is one of the most chronically overloaded muscles in anyone who sits for long periods or who has a training program heavy on hip extension. A loaded piriformis produces a deep ache in the center of the buttock that sometimes refers down the back of the leg. It is frequently mistaken for sciatica.
To release it, sit on the floor with knees bent and both feet flat. Place the firm massage ball under one glute. Lean slightly toward that side and cross the ankle of that leg over the opposite knee. This external rotation shortens the piriformis and brings it closer to the surface. Slowly lower your weight onto the ball and find the tender spot roughly in the center of the buttock, about midway between the greater trochanter and the sacrum. Hold for 60 to 90 seconds. You may feel a referral sensation running down toward the knee. That is normal and is a sign you have hit the right spot. Do not be alarmed by it, just ease off slightly if the intensity goes above a 7.
When the ache fades noticeably under the ball, the knot is releasing. That drop in sensation is your signal to move to the next spot. If you are rushing past it in 10 seconds, you are not doing trigger point work.
Step 4: Hit the Lats and Mid-Back
The latissimus dorsi is a long, flat muscle that runs from the mid-thoracic spine all the way to the upper arm. Heavy pulling work, rows, and pull-ups load it hard. When it develops a trigger point, it usually shows up as a deep ache in the side of the torso just below the armpit, sometimes referring into the back of the upper arm. Most people reach for their upper back when they feel this and miss the actual source.
Lie on your side with the ball placed in the lateral edge of the lat, a few inches below the armpit. Reach your arm overhead to stretch the lat slightly and bring the trigger point closer to the surface. Let gravity do the compression work. You should not need to press hard. Hold 60 seconds per spot and work two or three locations along the lateral border of the muscle. The wall-leaning technique also works here if getting on the floor is awkward. Stand with your back at a slight angle to the wall and position the ball in the target zone, then lean in.
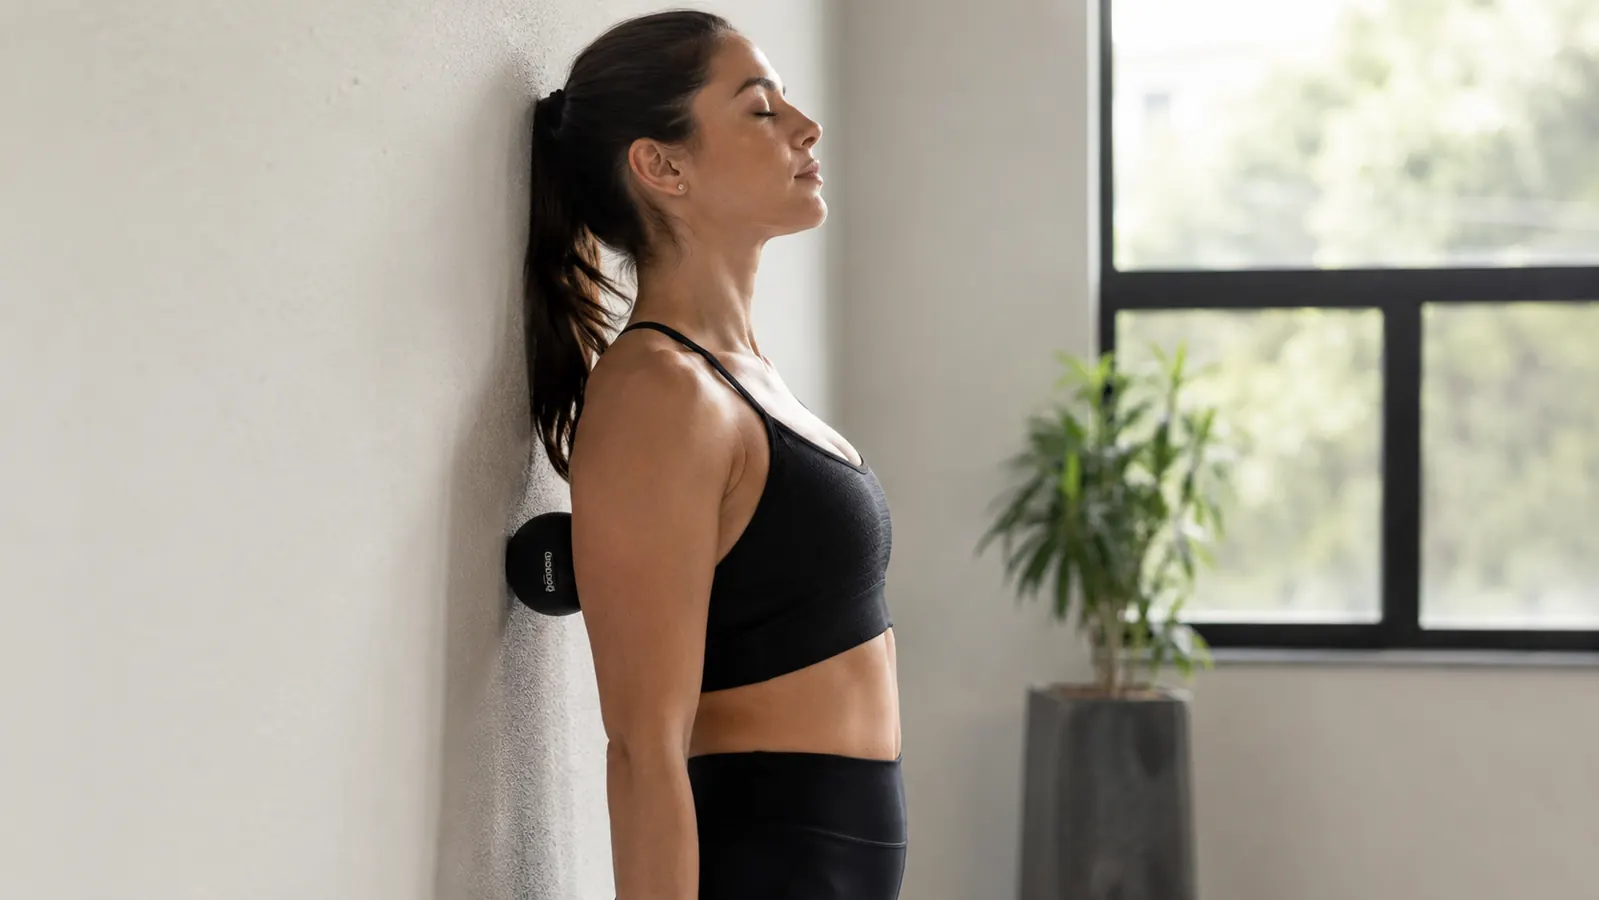
For the mid-back rhomboids and mid-traps, the wall technique is actually superior to the floor. Place the ball between your spine and shoulder blade and lean your back into a wall, bending your knees slightly to drop your weight onto the ball. Hug yourself by crossing your arms, which pulls the shoulder blade away from the spine and exposes the muscle underneath. Find tender spots and hold.
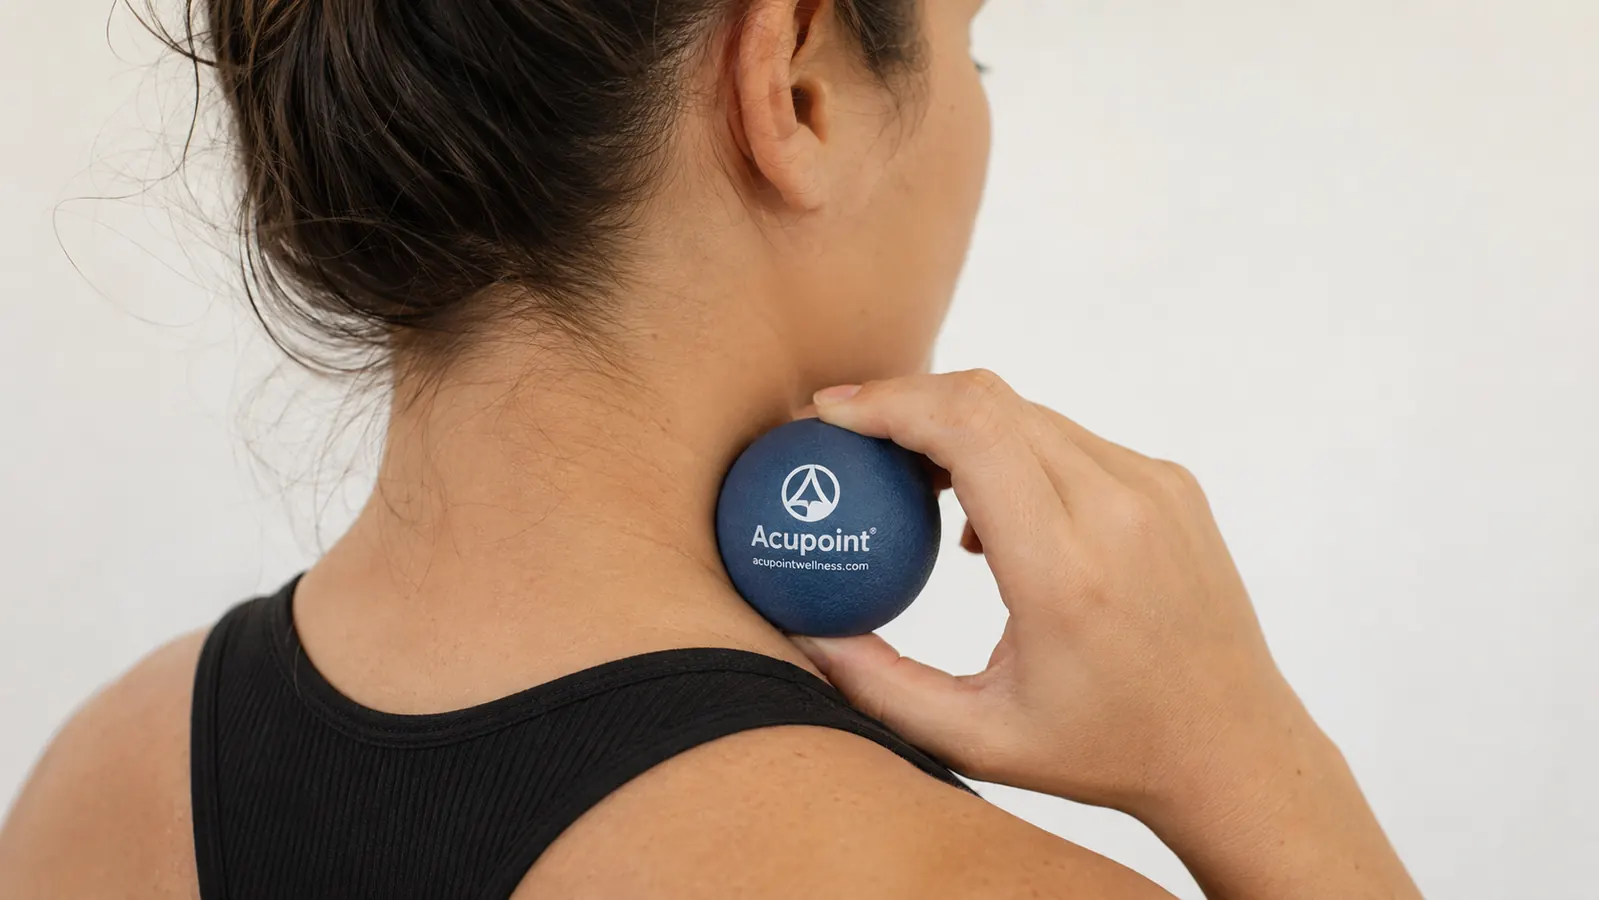
Step 5: Finish with the Upper Trap and Shoulders
The upper trapezius is where most people start, and honestly it should be the last stop, not the first. When the glutes and lats are holding tension, the upper body overcompensates and the traps pick up the slack. If you release the downstream chains first, the upper trap often responds more quickly and completely.
For the upper trap, lie on your back on the floor and place the softer Acupoint ball (or even a tennis ball if the firm one is too aggressive on this area) between the floor and the top of your shoulder, just lateral to the cervical spine. Turn your head slightly away from the ball to create a mild stretch. The weight of your head provides all the pressure needed here. Hold each spot for 45 to 60 seconds. Work outward from the spine toward the shoulder in three or four positions. The spot where the neck meets the shoulder is nearly always the hottest one.
If you have anterior shoulder tightness from bench press or overhead work, the pec minor is worth adding. Lie face down and place the softer ball just inside the front of the shoulder, below the collarbone. Support your forehead on your opposite hand and let your chest sink into the ball slowly. This one can be intense. Start with very little bodyweight and increase gradually.
What Else Helps
Trigger point work does not exist in isolation. The release you create with the ball is temporary if the underlying cause keeps loading the tissue. After a release session, take the muscle through a full range of motion two or three times while the tissue is pliable. This reinforces the new length and signals to the nervous system that the extended range is safe to use. A short walk, a few hip circles, or slow arm circles depending on the region worked is enough.
Hydration also matters more than most people expect. Fascia is largely water. Chronically dehydrated tissue is stiffer, more prone to trigger point formation, and slower to respond to pressure work. If you are training hard and not drinking enough, you will fight the same knots repeatedly. This is not a marketing pitch for anything. It is just physiology. Drink water.
For stubborn knots that keep reforming in the same location, look at movement patterns before you look at more recovery tools. A trigger point that comes back every few days in the same glute spot is usually telling you something about hip mechanics, not demanding more ball work. You can also read more in our comparison of why massage balls outperform static stretching for stubborn knots, which covers the mechanism in more detail.
Frequency and What to Expect
For most training-related trigger points, one targeted 10 to 15 minute session per day on the affected area is enough. If you are doing full-body work, two or three focused sessions per week keeps most athletes clear. You do not need to work every body part every day. Prioritize the areas that are limiting your training or causing referred pain.
In the first week, expect some temporary soreness the day after a release session, especially if the trigger point has been there a long time. This is normal and fades after a few days of consistent work. By week two or three, the release time shortens, meaning the knot loosens faster under pressure, and the referral sensation diminishes. That is the actual outcome you are working toward: a shorter dwell time needed to get the release because the tissue is healthier overall.
One thing to avoid is trying to pre-emptively roll every inch of every muscle every day. That is not trigger point release, that is just busy work. Be specific, be patient with the dwell time, and track where your personal problem areas are. You will get a much better return from 10 precise minutes than from 30 unfocused ones.
The Acupoint set's two-ball system lets you match pressure to the body part, which matters more than most people realize.
Use the firm ball on glutes and calves. Use the softer ball on traps and plantar fascia. Both included for under $15. Check current availability below.
Amazon Check Today's Price on Amazon →